DIY projects are growing in popularity, as everyone works towards improving or renovating their living space. While some DIY tasks are simple, others can be complex. Here are some of our top tips to ensure you achieve a professional finish every time.
Tape Before Caulk
Applying tape helps you control your caulk lines and makes it easier to achieve clean, professional lines. After you apply the tape, apply the caulk and smooth it out. Remove the tape immediately after application. We recommend using painter’s tape.
Choose the Right Sealant
Any DIY project goes smoother when you have the right tools and products for the job. When choosing your sealant, consider the surfaces it bonds with and application requirements such as temperature, as well as the quality of its formula.
We recommend Mapei Waterproof Fix and Grout for fixing and grouting ceramic tiles in kitchen, bathroom, shower, and utility DIY projects. You can also use Bond It Rapid Set Tile Adhesive for areas that are subject to regular wetting such as showers and bathrooms.
Choose The Right Caulk Gun
Some tubes tend to fall off the gun. Choosing the right gun ensures you can complete your DIY project safely and with little wastage. Consider buying a gun with a hook and one that you can use with different kinds of tubes.
Cut Tips Off Straight
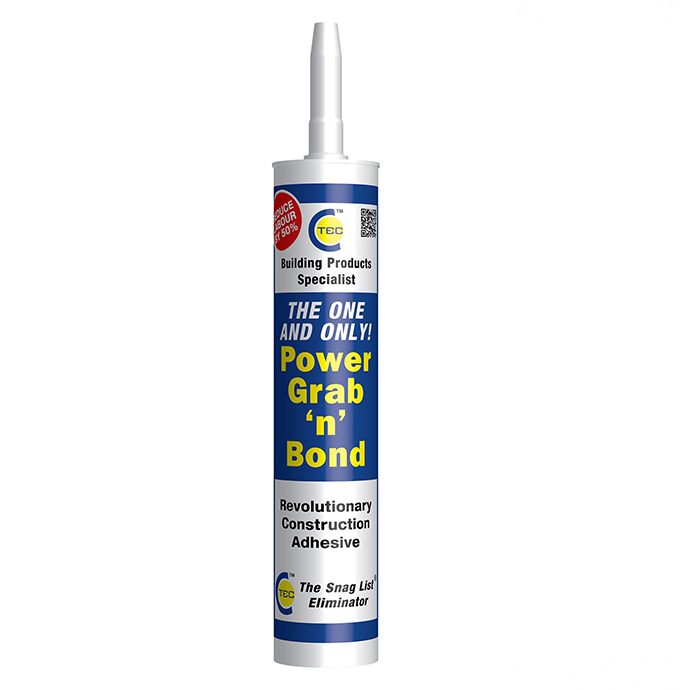
When using a cartridge sealant such as the C-Tec Power Grab N Bond or C-Tec BT1 White, cut the tips off straight. Cutting the tip at an angle limits the positioning of the caulking gun while a straight tip allows you to swivel the gun away from obstacles and apply the sealant into inside corners.
If you have different sized gaps to fill, start with the small gaps first by cutting the tip small and cutting it bigger as you progress to larger gaps. If a plug forms at the tip of the tube, use a large screw with sharp threads to remove it.
Avoid Globs
If you have a long run but can’t get it done in one go, do not start the application where you left off. Instead, start on the other end and work back to the middle. This gives you a smooth, professional finish with no globs or unfilled spots. Try to keep the meeting point away from eye level.
Smooth The Caulk
Before the sealant dries, smooth it out to eliminate globs, remove excess sealant, and seal any gaps. You can use your finger or use a smoothing tool. Once you have smoothed out the sealant, remove the painter’s tape before it dries.
Mess-Free DIY
With these tips, you should be able to achieve a smooth, professional finish every time. If you are unsure which sealants and products you need for your project, get in touch with us at Sealant Supplies with any inquiries.
We offer guidance on which products are best to use for DIY projects around the home. Remember, when choosing sealant for bathroom and kitchen DIY projects, a waterproof sealant is integral for long-lasting results.


