Substrate Preparation – Screeding
Bonded Screed:
To create a bonded screed with ARDEX A 35, begin by applying a grouting slurry to a well-prepared, dry concrete base. For the grouting slurry, mix ARDEX A 35 powder with screeding sand and dilute ARDEX P 51 Primer & Bonding Agent with an equal volume of water. This mixture should achieve a creamy consistency. While the slurry remains wet and workable, place and compact the ARDEX A 35 screed ‘fresh in fresh’. Alternatively, ARDEX A 18 bonding cement with a color indicator can be used. Ensure the concrete surface is prepared with mechanized equipment to expose the coarse aggregate and is free from any materials that might impede adhesion.
Unbonded Screed:
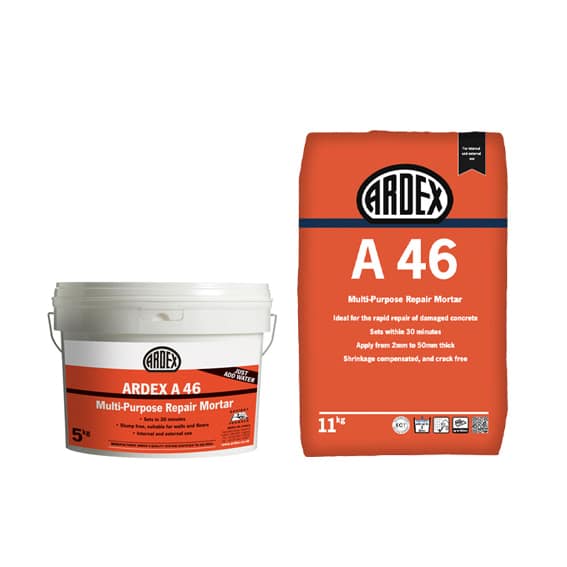
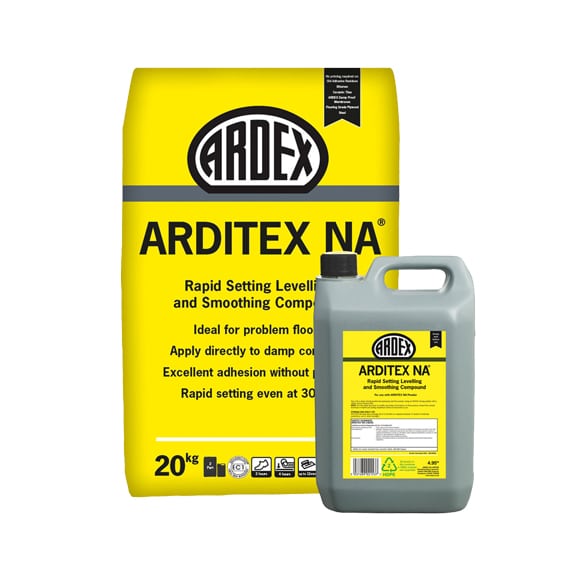
For unbonded screeds, it is important to ensure that the concrete slab is level and flat before applying a damp proof or slip membrane. For areas needing leveling or filling, refer to the ARDEX A 46 datasheet for localized applications or the ARDITEX NA datasheet for larger areas. When installing floating screeds, place a suitable separating layer or damp proof membrane over the insulation, ensuring it is installed according to the manufacturer’s guidelines.
Additional Notes:
If the concrete base is too wet (above 75% RH), lacks a damp proof membrane, or is subject to rising damp, ARDEX A 35 must be installed over an effective damp proof membrane. For bonded screeds, apply ARDEX DPM 1 C/ARDEX DPM 1 C R to a smooth surface, followed by ARDEX R 3 E Moisture Tolerant Epoxy Primer. For unbonded and floating screeds, install a proprietary damp proof/slip membrane in accordance with BS 8204-1+A1 and BS 5385-3. Alternatively, ARDEX A 38 Ultra Rapid Drying Cement can be applied directly to damp concrete using ARDEX A 18 bonding cement; refer to the ARDEX A 38 datasheet or contact Technical Support for further details.
Substrate Preparation – Screed Repairs
Repair Process:
For screed repairs, cut back to sound material with vertical edges. Treat these edges with a bonding coat of ARDEX A 35 grouting slurry or ARDEX A 18. Prepare the grouting slurry as described for bonded screeds. Apply the ARDEX A 35 screed mortar into the bonding coat while it is still wet and workable.
Mix Proportions
Sand Mix:
Use a maximum ratio of 1 part ARDEX A 35 cement to 4 or 5 parts screeding sand, based on the mix design and screed purpose. The sand should be high-quality 0-8mm sand, complying with BS 8204-1+A1 and BS EN 13139 standards. If the sand lacks the required coarse fraction, mix it with nominal 6mm aggregate. For screeds thicker than 50mm, consider using a fine concrete mix by incorporating 8mm or 10mm single-sized aggregate. The optimal mix proportions should be within the product’s standard ratios, with a maximum of 2 parts of aggregate to 3 parts sand and 1 part ARDEX A 35 cement.
Water:
Add enough water to achieve a workable mix. Typically, 6-8 liters of water per 25kg bag of ARDEX A 35 is required. To ensure rapid drying and strength development, do not exceed 11 liters per 25kg bag, including the moisture in the sand or aggregate.
Mixing
Process:
Mix to achieve a normal screed mortar consistency. The mortar should retain its shape when squeezed and should not crumble. When compacted, no water film should appear on the surface. Use a pan, trough, or forced action mixer, as free-fall mixers are unsuitable for semi-dry screed mortars. Ensure all equipment is clean and do not add any other cements, lime, or additives to the mix.
Application
Working Time:
The mixed mortar has a working time of approximately 1 hour at 20°C, so all mixing, placing, and finishing should be completed promptly. Limit the amount of mortar mixed at one time to ensure timely trowelling and finishing.
Temperature and Application:
Apply ARDEX A 35 at temperatures above 5°C. For screeds over underfloor heating systems, allow the screed to cure for 3 days before gradually increasing the water temperature to 25°C, maintaining it for another 3 days. The maximum temperature should be used for an additional 4 days, avoiding draughts. Allow the floor to cool to room temperature (above 15°C) before laying floor coverings. Note that ARDEX A 35 screeds can withstand temperatures up to 65°C.
Drying Time
Walkability and Installation:
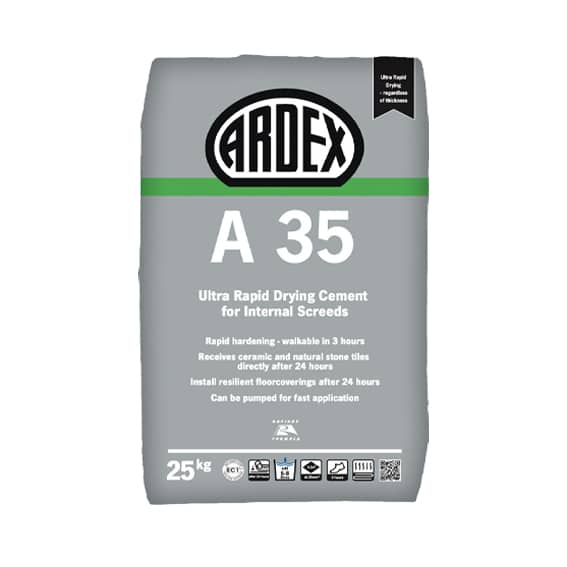
ARDEX A 35 can be walked on within 3 hours of application, and ceramic and natural stone tiles can be installed after 24 hours, regardless of thickness. Resilient floor coverings can also be installed after 24 hours. The screed will be fully dry after 24 hours.
Surface Finish
Preparation for Flooring:
Finish the screed with a wood float before fixing ceramic or quarry tiles. For thin floor coverings, such as vinyl, use ARDEX levelling compounds to achieve a smooth surface. Select the appropriate compound based on the final floor finish, and consult the relevant ARDEX datasheets for additional guidance.








Reviews
There are no reviews yet.