Sealants are essential for various applications, from bathroom fixtures and kitchen countertops to windows and doors. They provide a robust barrier against water, air, and other elements. However, over time, sealants can degrade, become discoloured, or simply need replacement. Effective sealant removal is crucial before applying new sealant to ensure a clean and professional finish. This guide covers the essential aspects of sealant removal, providing tips and techniques for both DIY enthusiasts and professionals.
Why is Sealant Removal Important?
Before diving into the methods of sealant removal, it’s important to understand why it’s necessary:
- Ensures Proper Adhesion: New sealant adheres better to clean, residue-free surfaces, ensuring a stronger and more durable bond.
- Prevents Contamination: Old, degraded sealant can harbour mould, mildew, and bacteria. Removing it prevents these contaminants from affecting the new sealant.
- Aesthetics: Removing old, discoloured sealant improves the appearance of the area, providing a fresh and clean look.
Tools and Materials Needed for Sealant Removal
To effectively remove sealant, you’ll need the right tools and materials. Here’s a list of essentials:
- Utility Knife or Razor Blade: For cutting through the old sealant.
- Sealant Removal Tool: A specialised tool designed to scrape away sealant without damaging the underlying surface.
- Heat Gun or Hair Dryer: To soften the sealant, making it easier to remove.
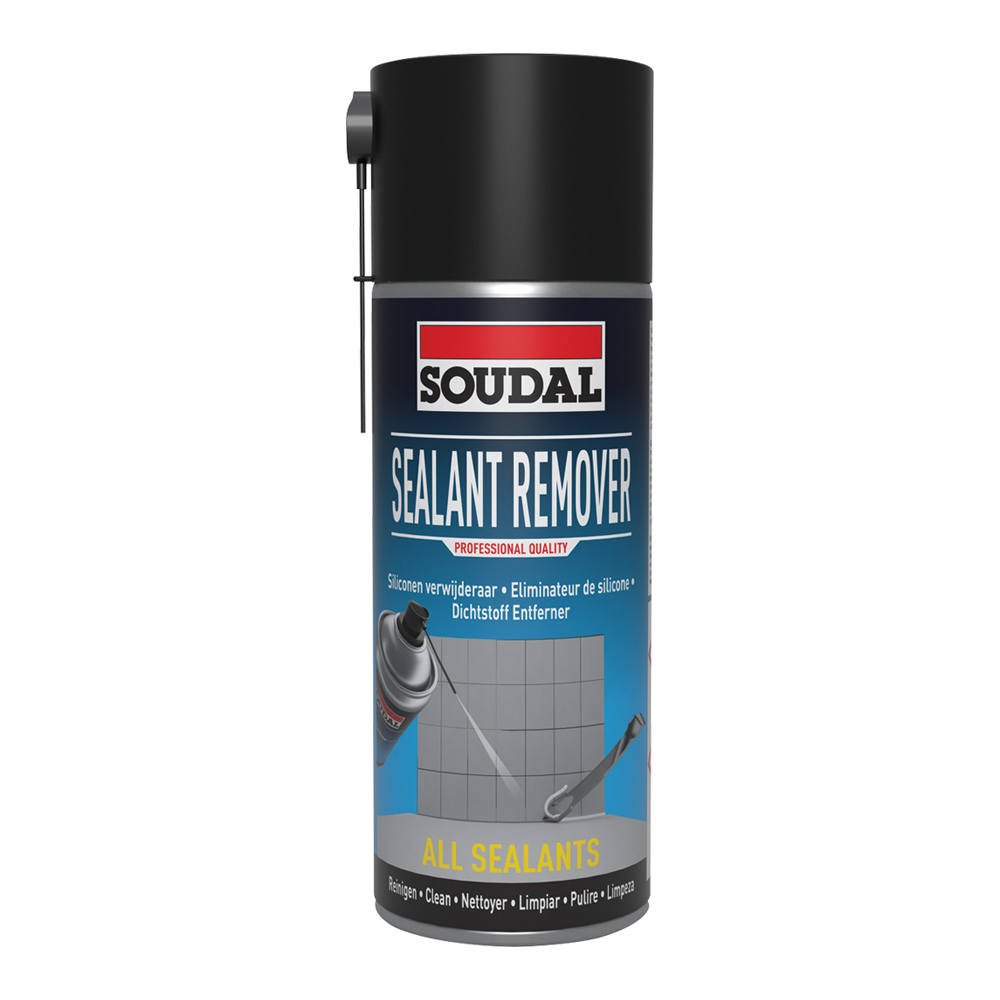
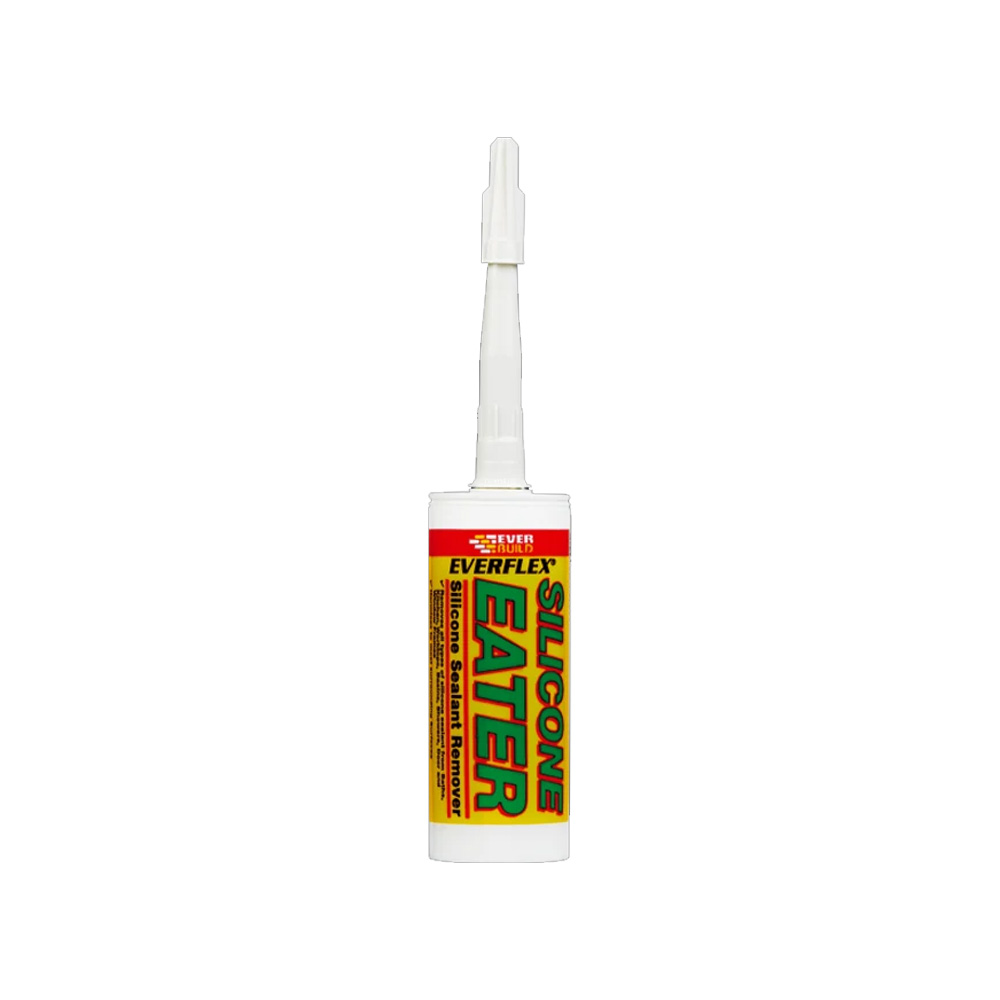
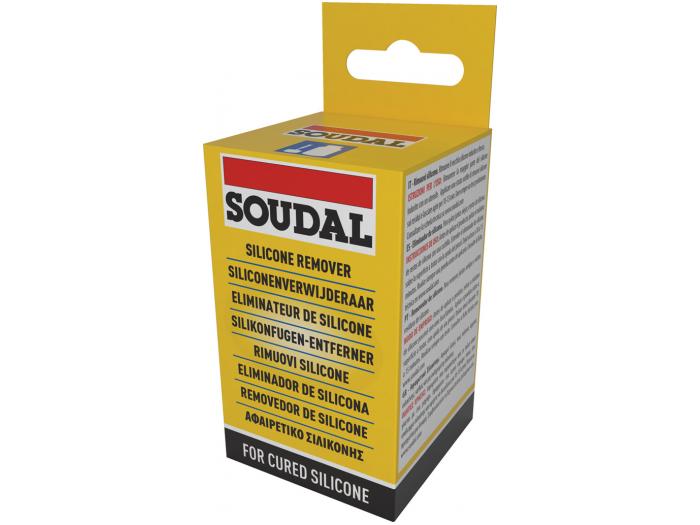
- Solvent: Such as rubbing alcohol or a commercial sealant remover, to dissolve any remaining residue.
- Clean Cloths or Paper Towels: For wiping away debris and cleaning the surface.
Step-by-Step Guide to Sealant Removal
- Prepare the Area:
- Clear the area of any objects or obstructions.
- Ensure good ventilation if using chemical solvents.
- Soften the Sealant:
- Use a heat gun or hair dryer to warm the sealant. Hold it a few inches away from the surface and move it back and forth to evenly distribute the heat.
- This step softens the sealant, making it easier to cut and scrape away.
- Cut and Scrape the Sealant:
- Using a utility knife or razor blade, carefully cut along the edges of the sealant. Be sure not to damage the surrounding surfaces.
- Employ a sealant removal tool to scrape away the bulk of the sealant. Work slowly and methodically to remove as much as possible.
- Apply Solvent:
- Apply a small amount of solvent to a cloth and rub it over the remaining sealant residue.
- Let the solvent sit for a few minutes to break down the residue.
- Clean the Surface:
- Use a clean cloth or paper towel to wipe away the dissolved sealant.
- Repeat the process if necessary until the surface is completely clean.
- Final Touches:
- Inspect the area to ensure all sealant and residue have been removed.
- Clean the surface with soapy water and let it dry completely before applying new sealant.
Tips for Effective Sealant Removal
- Safety First: Always wear gloves and protective eyewear when handling sharp tools and chemical solvents.
- Patience is Key: Sealant removal can be time-consuming. Work slowly to avoid damaging surfaces and ensure thorough removal.
- Test Solvents: If using a commercial solvent, test it on a small, inconspicuous area first to ensure it doesn’t damage the surface.
Speak to Our Team About Sealant Removal
Sealant removal is a crucial step in maintaining and renewing sealed joints and surfaces. By following the proper techniques and using the right tools, you can effectively remove old sealant and prepare the area for a fresh application. Whether you’re a DIY enthusiast or a professional, mastering sealant removal ensures a clean, durable, and aesthetically pleasing finish for all your projects.
If you would like to speak to a member of our team about the products we stock simply call 01708 525 866 or email info@sealantsupplies.co.uk and a member of our team will be in touch as soon as possible.


