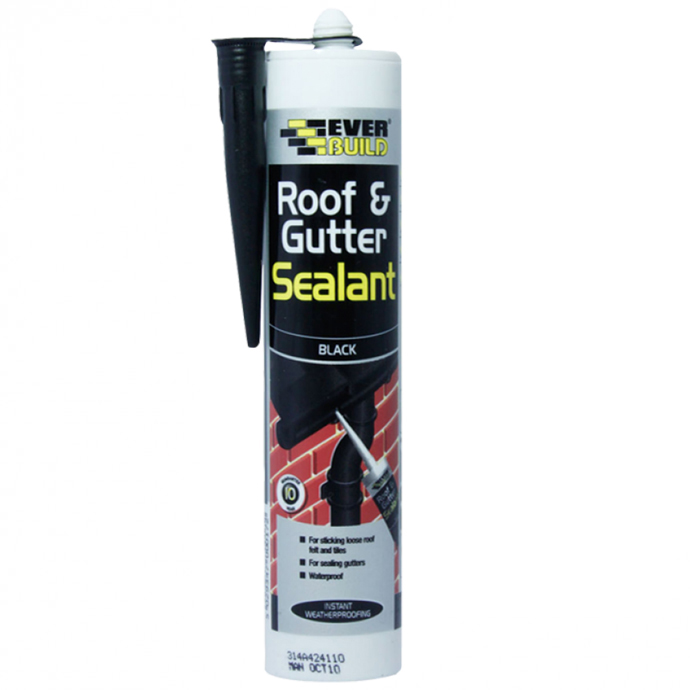
External sealants can be some of the most difficult DIY projects to carry out, with so many aspects to consider.
Sealants are most commonly applied to windows, doors, roof and guttering. However, we recommend seeking the advice of a professional when looking at roof and gutter sealant projects, as these can be very complex.
External Sealants for Windows and Doors
When starting the process of applying external sealant to doors and windows, the first decision to make is selecting your sealant.
When considering your options, we advise to select a flexible sealant, silicone rubber if possible, which will prevent draft coming through therefore keeping your home warmer and reducing energy bills.
A sealant which is able to withstand UV exposure and weathering is essential, preventing water ingress and ensuring the sealant will be long-lasting in the UK’s unpredictable weather!
For a professional finish on the window sealant application we also recommend a non-staining sealant is used where possible.
Applying an Exterior Sealant
Once you have selected your external sealant, it’s time for application…
- Pre-application research
Before applying a sealant to windows or doors, research where to apply the product. Simply finding where the draft is within the frame will show where sealant can be applied. If this is the first time you are applying external sealants there are also tutorials available on YouTube which are useful to watch.
When applying exterior sealants, it is also important to consider the weather, apply when it is dry to prevent issues with the sealant drying. Some sealants also work better when applied at different temperatures, be sure to check this before beginning.
- Prepare the area
Before applying the sealant, it is essential to remove any existing sealant, this will ensure a seamless application. We also recommend applying tape to the area to the finish is neat and tidy.
- Prepare sealant and tools
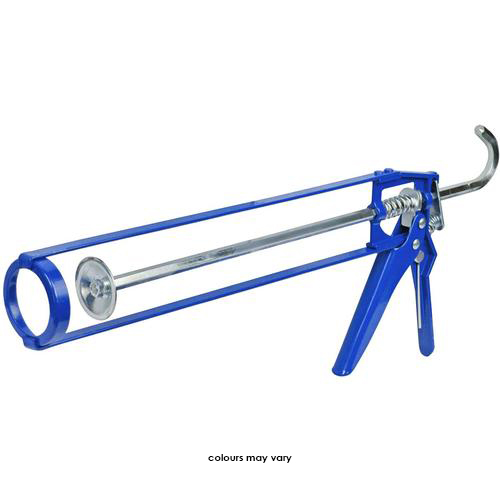
Once you have selected your exterior sealants and sealant gun, cut the tube smoothly with a sharp blade to avoid snags. Cut the tube at a 45-degree angle and practice applying the sealant on a piece of cardboard to ensure it flows smoothly.
- Apply
Apply confidently and smoothly to gain best results, smooth out with your finger once applied to create a stronger bond and a professional finish. To avoid friction when smoothing the application dip fingers in soapy water.
- Allow drying time
Drying time will differ between sealants however 24 hours is advisable to ensure proper drying.
Struggling with your External Sealants project?
If you are currently undergoing a DIY external sealant project, our friendly team are here to help. We have a huge variety of external sealants on our website, including tools and tips for application!
For larger orders we also have credit and trade accounts available, for more information or to speak to a member of our team call 01708 525 866.


