Silicone should look appealing and tidy after application. Whether you are using it around sinks, tiling, or anywhere else around the house, it should look as neat as when you first moved into the house. If you struggle to get that professional finish here are a few hacks to help you achieve a smooth sealant finish every time.
- Remove Old Sealant
Ensure you remove all old or damaged silicone before applying a new coat. Cut along the edges using a sharp tool and carefully peel it off.
- Clean and dry the area before applying new silicone.
We recommend cleaning the area with bleach to remove any mould and kill off any spores
- Choose the Right Tools For Applying New Silicone
Choosing the right tools will help you achieve a smooth finish and complete the job quickly. To start with, choose a sealant gun that is suitable for your needs. We stock a wide range of user-friendly sealant guns including Everbuild Superflow Sealant Gun ideal, Soudal Barrel Mastic Gun, P C COX Midiflow Combi Barrel Gun and Nozzle, and more
- Use Masking Tape
Before applying the silicone, use some tape to keep the sealant from smearing and to help you achieve straight lines. As you lay the masking tape, allow enough space for the sealant and ensure it is straight so that it leaves behind sharp lines when removed.
- Cut The Nozzle at a Slight Angle
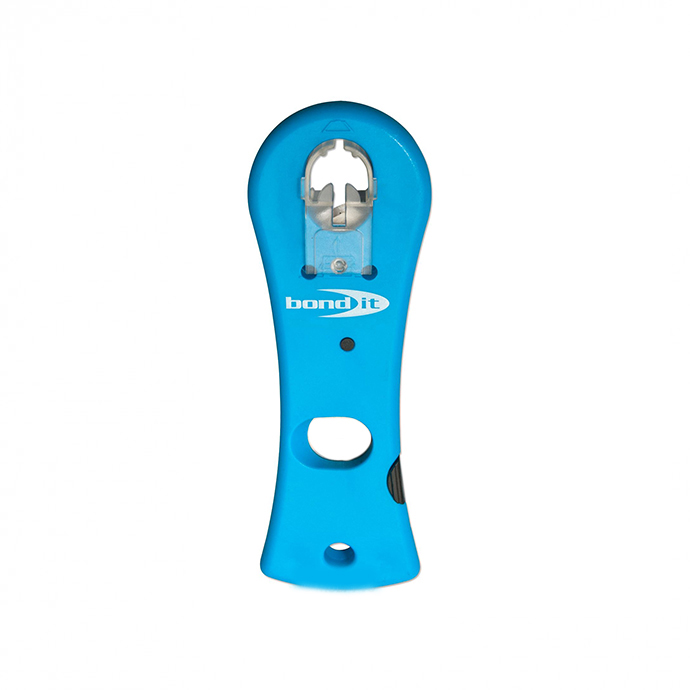
Cut the sealant cartridge at a slight angle using a Bond-it Snip Off Cartridge Cutter. This will help the tip glide more efficiently as you use it.
- Use The Right Nozzle if Using a Barrel Gun
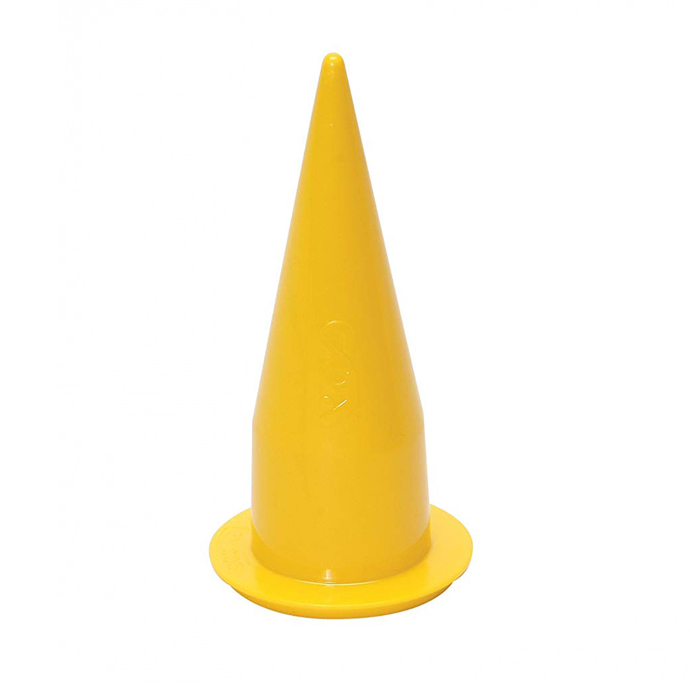
Depending on the application, choosing the appropriate nozzle can help make your job much easier. We stock a wide range of nozzles including the PC Cox 13mm Red Plastic Nozzle, P C Cox 9mm Blue Plastic Nozzle, and the P C Cox Yellow Plastic Cone Nozzle that is ideal for guns holding 600ml foils.
- Begin at a Corner and Work in Sections
Apply the first bead at a corner and smoothly pull the gun towards you. Ensure the gap fills up properly and check to see that all areas between the tape are properly filled. Go over any areas with less than adequate silicone and reapply where necessary.
- Smooth the Bead
Use an ARBO Wooden Wave Tooling Stick to smooth out the silicone bead. These tooling sticks come as a set of four and can be adjusted by shaping the tip yourself to fit any joints. Using the tooling stick, apply even pressure to ensure the sealant is pushed deep into the gaps for increased adhesion.
Use white spirit to prevent the silicone from sticking onto your hands. Fill a spray bottle with white spirit to make it easier to remove unwanted silicone from the worktop.
- Remove The Tape
Once you have finished smoothing out the silicone, carefully peel away the tape. If your silicone still has small ridges after you have finished smoothing it down, use a damp linen rag to create an even professional finish.
Pro Tip: If you are applying sealant around a bathtub, fill it with water before application. This will ensure the sealant is not pulled the first time you fill the tub after repair. The weight of the water also allows the silicone to settle.
After application, allow at least 24 hours for the silicone to fully cure.
Applying silicone sealant is easy when you have the right tools. Follow these pro tips to improve your sealant application game and achieve a perfectly smooth sealant finish every time.


