Embarking on a DIY tiling or re-grouting project in the heart of your home not only rejuvenates your space but also provides a sense of accomplishment. Whether you’re installing a new backsplash or reviving the existing one, the key to a polished look lies in the details, particularly the kitchen tile grout.
Here’s a comprehensive guide to achieving professional-looking results in your kitchen, complete with essential tips, tools, and product recommendations like Mapei’s Fuga Fresha.
Preparation is Paramount: Before you dive into your project, ensure your workspace is clean and clear. Remove old tiles, if necessary, and clean the surface thoroughly to eliminate dust, grease, or loose grout. This step is crucial as a clean, stable surface is vital for the new tiles and kitchen tile grout to adhere correctly.
Essential Tools and Materials: For a successful DIY tiling project, having the right tools on hand is non-negotiable. You’ll need a notched trowel for applying tile adhesive, a grout float to smoothly apply the grout, a level to keep tiles straight and even, spacers for uniformity, a tile cutter for shaping your tiles, and a sponge for clean-up. Quality materials are equally important, with your choice of tiles and backsplash kitchen tile grout being central to the project’s outcome.
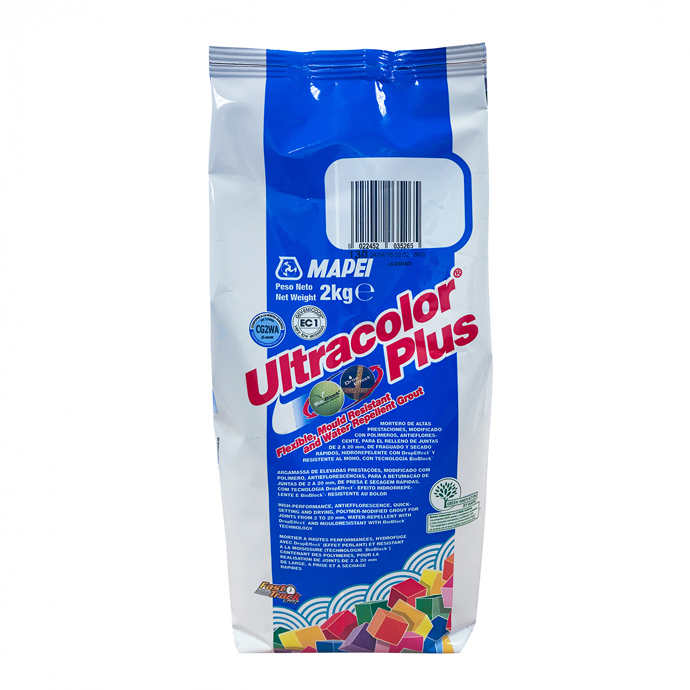
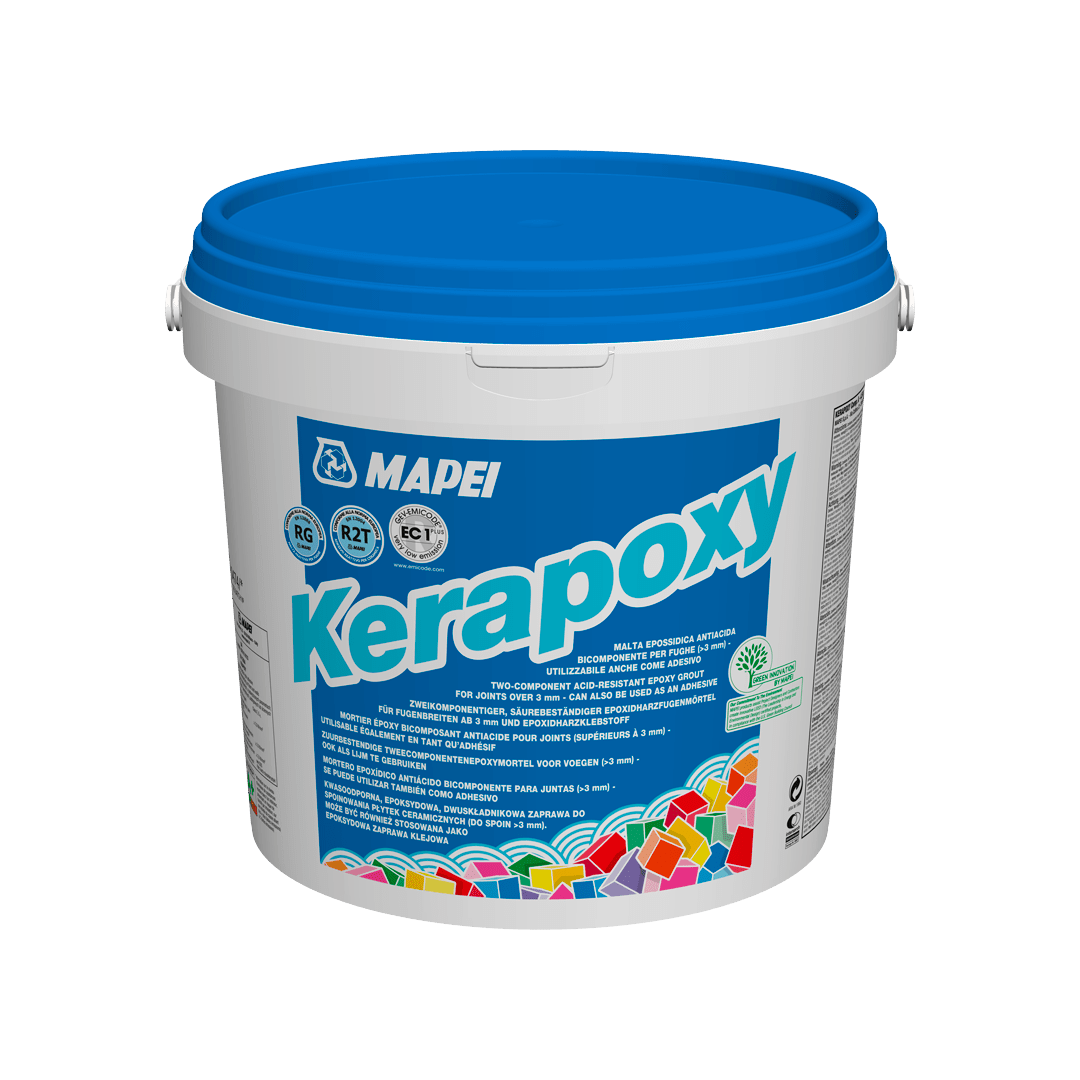
Choosing the Right Grout: The grout you select impacts not only the aesthetic but the longevity of your tiling. For kitchen backsplashes, opt for a non-sanded grout that suits the narrow grout lines typically found in this area. The colour of your kitchen tile grout should complement your tiles, either by matching or contrasting them, to enhance the overall design.
The Art of Grouting: Once your tiles are set, mix your grout to a toothpaste-like consistency. Apply it using a grout float, pressing down to ensure the grout fully penetrates the joints. Swipe diagonally to remove excess and prevent the removal of grout within the lines. Allow it to set for about 20-30 minutes before wiping off the excess with a damp sponge, rinsing it frequently.
Maintenance and Refreshing: Over time, grout can become discoloured or mouldy, especially in the damp kitchen environment. This is where innovative solutions like Mapei’s Fugal Fresha come into play. This product is designed to refresh and restore your kitchen tile grout, offering resistance to mould and mildew, thanks to its anti-fungal properties. It’s an excellent choice for maintaining the cleanliness and appearance of your grout lines, prolonging the time between regrouting projects.
Seal for Durability: After your grout has cured, applying a sealant will help preserve its colour and protect it from moisture and staining. This step is often overlooked in DIY projects, but it’s essential for long-lasting results.
In conclusion, a successful kitchen tiling or re-grouting DIY project hinges on meticulous preparation, the right tools and materials, and proper application techniques. By following these tips and incorporating quality products like Mapei’s Fuga Fresha, you can transform your kitchen backsplash into a durable, stylish, and mould-resistant masterpiece.
Speak to our team about kitchen grout
If you are struggling to find the right products for your DIY kitchen project, our friendly team are here to help. All of our sealants and adhesives can be found via our website or if you would like to speak to our team simply call 01708 525 866 or email info@sealantsupplies.co.uk and our team will be in touch.


