PRIMING
While priming is not mandatory, it can be beneficial to use ARDEX P 51 Priming and Bonding Agent, diluted 1:3 with cold, clean water, on highly absorbent surfaces. This will help maintain the working time of the adhesive and ensure maximum coverage.
SUBSTRATE PREPARATION
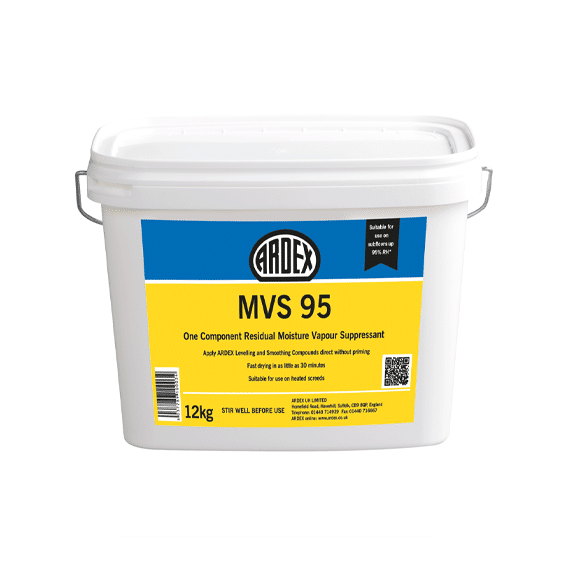
The subfloor must have an effective damp proof membrane and be dry, with an equilibrium relative humidity of 75% or below. If a damp proof membrane is absent or the relative humidity exceeds 75% RH, refer to the ARDEX Moisture Control brochure or contact ARDEX Technical Services for suitable product recommendations. The subfloor should be hard, clean, free from barrier materials, sound, and smooth, in accordance with BS 8203 and BS 8204. Remove any dust using appropriate vacuum equipment before applying ARDEX AF 165, as dust can negatively impact the adhesive’s coverage and performance. Level any uneven subfloors using the suitable ARDEX Latex or Water-Based Levelling and Smoothing Compound, such as ARDITEX NA or ARDEX K 39. For subfloor repairs up to 50mm thick, ARDEX ARDURAPID A 45 Rapid Drying and Hardening Internal Repair Mortar can be utilized, following the product data sheet. Minor imperfections, such as joints or nail holes in plywood and damage to existing leveling compounds, can be smoothed and leveled before applying ARDEX AF 165 using ARDEX FEATHER FINISH, as outlined in the product data sheet. Where necessary, install flooring-grade plywood (SP101) over existing timber bases. Wood-based underlays must be suitable for the floorcovering and at the correct moisture content for service.
MIXING
ARDEX AF 165 is ready to use, but for optimal performance, thoroughly mix the adhesive to ensure even dispersion of polymers before application.
APPLICATION
Ensure the installation area and subfloor are maintained at the appropriate temperatures specified by the floorcovering manufacturer and in accordance with BS 8203. These temperatures should be upheld for 48 hours prior to, during, and 48 hours after installation. Apply ARDEX AF 165 evenly to the prepared substrate using the appropriate serrated trowel, held at approximately a 60-degree angle to maximize coverage and prevent adhesive pooling. Floorcoverings should be placed directly into the wet adhesive on absorbent surfaces after an airing time of 10-20 minutes, depending on ambient conditions, as this enhances early grab. Only apply enough adhesive that can be covered within the working time of approximately 30 minutes. Regularly check that the adhesive has transferred to the back of the floorcovering, and eliminate any air pockets with a cork board or rubbing tool while the adhesive is still wet. Roll the flooring with a 68kg roller and/or smoothing tool, first from side to side and then end to end, to ensure thorough contact and minimize the risk of adhesive showing through. Some vinyl floorcoverings may require additional rolling or smoothing. Heat welding should only begin once the adhesive has sufficiently dried. Avoid wet cleaning the floor immediately after installation; allow the adhesive bond to develop for at least 48 hours at 20°C before wet cleaning. When applying adhesive, do not return any excess adhesive that has been moved across the subfloor back to the original container. Instead, place it in a separate container for safe disposal to prevent contamination.
UNDERFLOOR HEATING
Commission underfloor heating systems according to the manufacturer’s instructions, or follow the guidance in BS 8203 and BS 8204 if instructions are unavailable. Thermal cycling of the subfloor requires gradually raising the substrate temperature, typically by 5°C per day, to the full operating temperature, maintaining it for a designated period, and then lowering it again at the same rate. This helps mitigate any shrinkage before floorcovering installation. If moisture tests are necessary to check the substrate’s relative humidity, turn off the underfloor heating system for 48 hours before testing. If testing is unnecessary, or once it’s completed, stabilize the heating system at room temperature (not below 15°C) before installing the floorcovering. Repair or smooth the substrate surface with the appropriate ARDEX product and allow it to dry. The floorcovering should acclimatize to the substrate temperature prior to installation with ARDEX AF 165. After installation, maintain a constant temperature for at least 48 hours to allow the adhesive to cure properly before gradually increasing to the normal operating temperature. Avoid placing static or dynamic loads, such as loaded trolleys or furniture, on the flooring until the adhesive has fully set, which typically takes 48 hours at 20°C.





Reviews
There are no reviews yet.