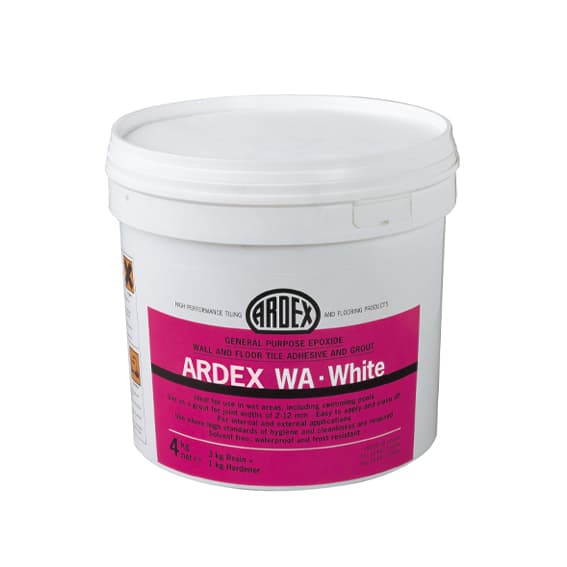
To prepare ARDEX WA mortar, thoroughly combine Hardener A with the Primary Paste W until a uniform consistency is achieved. Using a propeller-type stirrer attached to a slow-speed drill is recommended for optimal mixing. The mortar is ready for immediate use and has a working time of approximately 85 minutes at 20°C; however, this time decreases at higher temperatures and increases at lower temperatures. In hot conditions, it is advisable to spread the mortar immediately after mixing to prevent self-heating, which can shorten the working time. Ensure that application occurs at temperatures above 10°C.
NOTE: To ensure all materials are utilized, transfer some of the mixed mortar back into the hardener container (this is known as back mixing) to disperse any remaining material. Afterward, return this mixture to the main container and mix thoroughly to achieve a uniform mortar. This process helps eliminate any unreacted material, allowing the packaging to be safely disposed of as non-hazardous waste.
Fixing Technique
Ensure that the surface to which the mortar will be applied is dry, sound, and free from dust, contaminants, and other barrier materials. Suitable surfaces include concrete, cement/sand renders and screeds, rigidly fixed plywood, terrazzo, and other building materials. If there is any doubt regarding adhesion, conduct a test area.
NOTE: ARDEX WA epoxy mortar is appropriate for fixing both wall and floor tiles or mosaics. For glass or translucent tiles, or when grouting thin tiles or mosaics, use the white variant of ARDEX WA. In areas where chemical spillage is possible, the grey variant is recommended. When applying tiles or mosaics, spread the ARDEX WA mortar with a trowel, then comb it with a notched trowel to create a ribbed mortar bed (use a 5mm square toothed notched pattern for tiles and a 3mm square toothed pattern for mosaics). Press the tiles firmly into the ribbed mortar and ensure they are thoroughly bedded to maintain good contact. The tiles can be adjusted within the mortar’s working time. Grouting can take place after 12 hours at 20°C.
Grouting
Using the correct tools is crucial when applying ARDEX epoxy grouts. For details, refer to the ARDEX Tool Catalogue and ARDEX Instruction Leaflet No. 10. Employ a suitable squeegee to work the mortar into the dry joints, ensuring complete filling, particularly in joints made of natural stone or absorbent, textured, or soft glazed ceramic tiles. Consult BS 5385-1 for further guidance or contact the tile manufacturer/distributor for advice. If uncertain, carry out a trial application. For information on natural stone products, refer to the ARDEX natural stone tiling guide. Clean tools before the mortar hardens using a brush and water.








Reviews
There are no reviews yet.